3-Step Guide to a Smooth Gravel Driveway
Introduction to Gravel Driveway Stabilization
A gravel driveway is an excellent choice for homeowners looking to enhance their property’s curb appeal while ensuring durability and functionality. However, without proper stabilization, gravel driveways can become uneven and require frequent maintenance. Installing a gravel driveway stabilization kit is a practical solution that helps lock the stones in place, reducing the need for constant upkeep. This guide will walk you through the process of setting up a gravel driveway stabilization kit, offering tips on installation, setup, and maintenance to ensure your driveway remains smooth and sturdy.
Preparing the Site for Installation
Before diving into the installation process, it’s crucial to prepare the site adequately. Proper preparation ensures that the stabilization kit functions effectively and prolongs the life of your driveway. Start by clearing the area of any debris, vegetation, or existing gravel. Use a shovel or a rake to level the ground, ensuring a smooth and even surface. It’s essential to consider drainage during this stage, as water accumulation can undermine the stability of your driveway. Create a slight slope to facilitate water runoff, preventing puddles from forming.
Once the site is cleared and leveled, compact the soil using a plate compactor. This step is vital as it provides a solid foundation for the gravel driveway stabilization kit. A well-compacted base minimizes shifting and settling, which can lead to uneven surfaces over time. After compacting, lay down a layer of geotextile fabric. This fabric acts as a barrier, preventing the gravel from mixing with the soil beneath, which could compromise the stability of the driveway.
Installing the Gravel Driveway Stabilization Kit
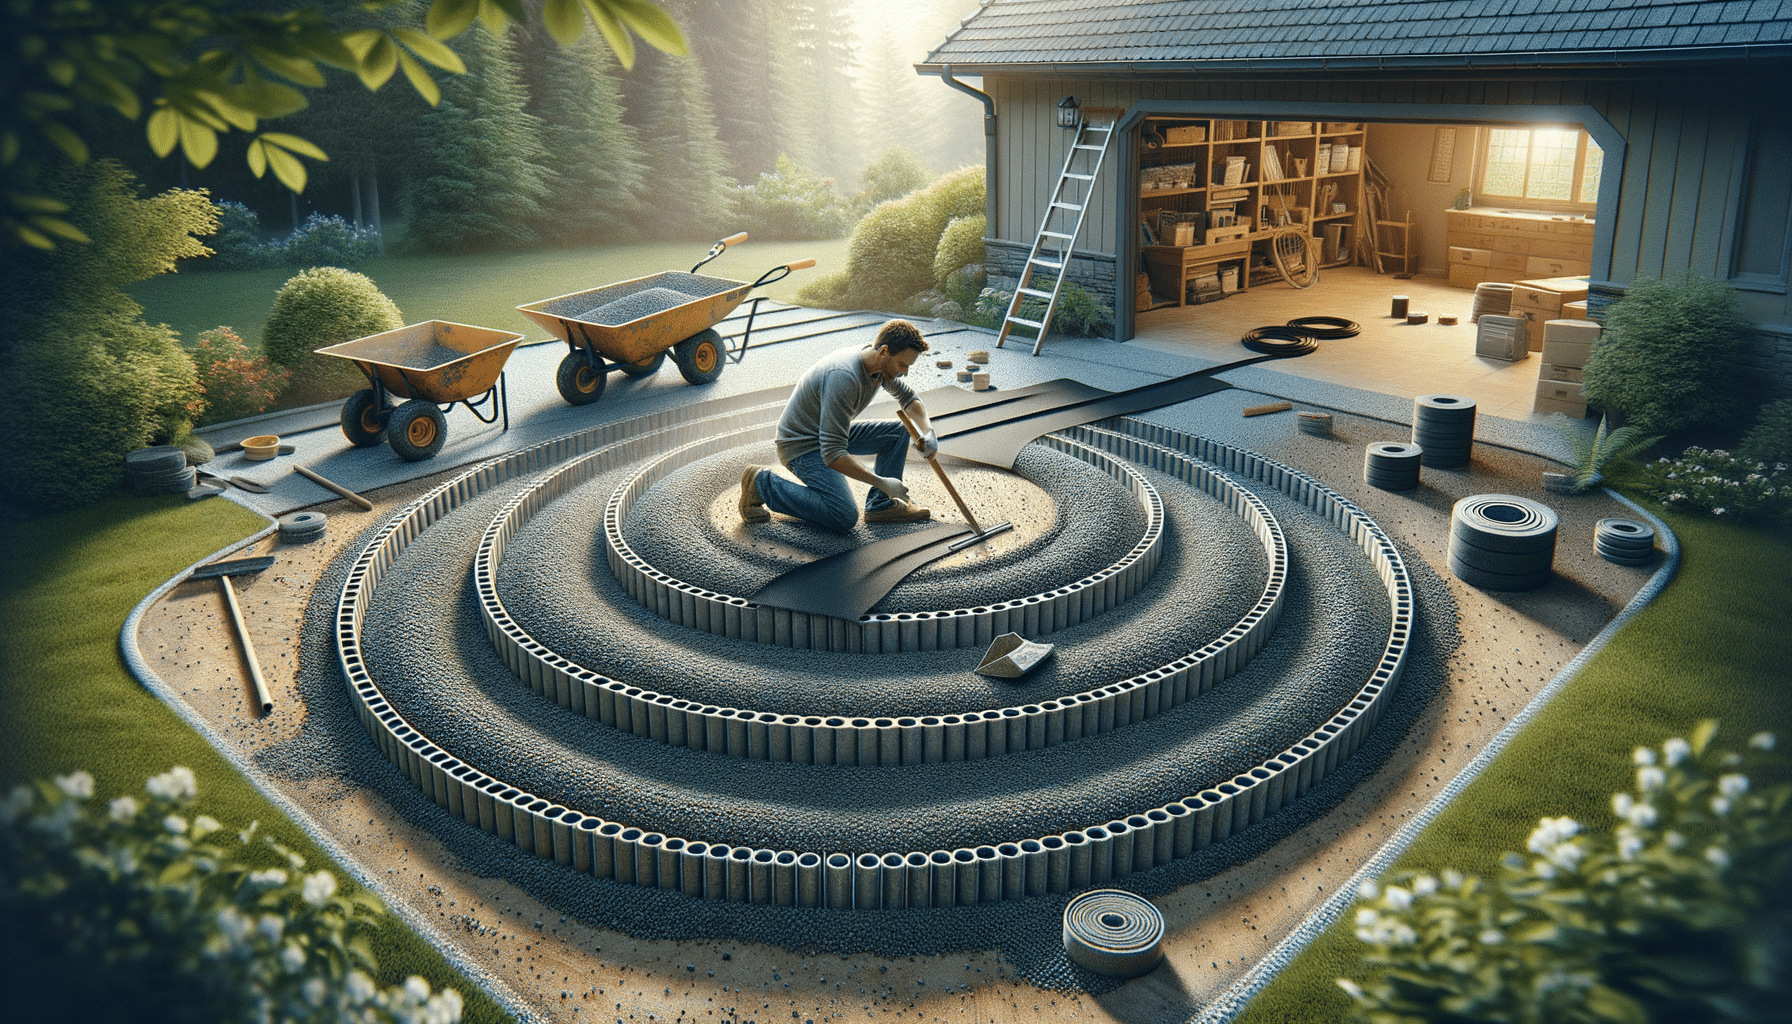
With the site prepared, you’re ready to install the gravel driveway stabilization kit. Begin by laying out the grid panels across the prepared area. These panels are designed to hold the gravel in place, reducing movement and maintaining a level surface. Connect the panels using the provided connectors or clips, ensuring a snug fit. It’s important to follow the manufacturer’s instructions for this step, as improper installation can affect the performance of the stabilization kit.
Once the grid panels are in place, fill them with gravel. Use a shovel or a wheelbarrow to distribute the gravel evenly across the panels, ensuring each cell is filled to the top. Avoid overfilling, as this can lead to spillage and uneven surfaces. After filling, use a rake to level the gravel, creating a smooth finish. The grid system will keep the gravel locked in place, preventing displacement and reducing the need for frequent maintenance.
DIY Gravel Driveway Kit Setup Guide
Setting up a gravel driveway kit can be a rewarding DIY project, providing you with a sense of accomplishment and a functional driveway. To begin, gather the necessary tools and materials, including a shovel, rake, wheelbarrow, plate compactor, and geotextile fabric. Having these tools on hand will streamline the installation process and ensure a smooth setup.
Follow the steps outlined in the previous sections for site preparation and installation. Pay attention to the details, such as ensuring the ground is level and compacted, and that the grid panels are securely connected. Taking the time to do it right will pay off in the long run, as your driveway will remain stable and require minimal maintenance.
For those who enjoy a bit of creativity, consider adding decorative elements to your driveway. Incorporate different shades of gravel to create patterns or borders, enhancing the aesthetic appeal of your driveway. With a bit of planning and effort, you can transform a simple gravel driveway into a visually striking feature of your property.
Maintaining Your Gravel Driveway Stabilizer Kit
After successfully installing your gravel driveway stabilization kit, regular maintenance is key to ensuring its longevity and functionality. Periodically inspect the driveway for any signs of wear or displacement. Addressing minor issues promptly can prevent them from developing into larger problems that require more extensive repairs.
One of the primary maintenance tasks is replenishing the gravel as needed. Over time, gravel can become compacted or displaced, leading to thin spots. Refill these areas to maintain an even surface. Additionally, monitor the drainage around your driveway. Clear any obstructions that may impede water flow, as proper drainage is crucial for preventing erosion and maintaining the stability of your driveway.
In regions with harsh weather conditions, consider applying a protective sealant to the gravel. This can help shield the stones from freeze-thaw cycles and reduce the impact of heavy rainfall. By following these maintenance tips, you can ensure your gravel driveway remains in excellent condition, providing a durable and attractive surface for years to come.


